Most landscape fabric edging fails at the border
Most landscape fabric edging jobs don't fail in the middle of the bed. They fail at the edges. I've walked a lot of gravel paths and planting beds a year or two after install, and the story is almost always the same. The fabric looks fine under the stone, but along the border it has lifted, frayed or pulled back, and grass and soil have crept in underneath. Once that starts, the weeds follow.
The fix isn't a fancier fabric or more pins. It's ten minutes of honest spade work before the fabric ever goes down. Here's how we lock fabric edges so a bed or path holds its shape for years.
Why edges fail
A loose fabric edge is exposed to everything. Foot traffic kicks it, mowers catch it, rain washes soil over it and sun works on any strip left uncovered. If the edge just lies flat on the surface with a few pins, it has nothing holding it down except those pins. Lawn runners find the gap, soil builds up on top of the fabric, and within a season you have weeds rooting right through your border.
When the edge is buried in a trench instead, the soil itself holds the fabric, the weeds have to go down and under to get in, and the cut edge is out of the sun. That's the whole idea.
Step 1: Cut a clean edge trench
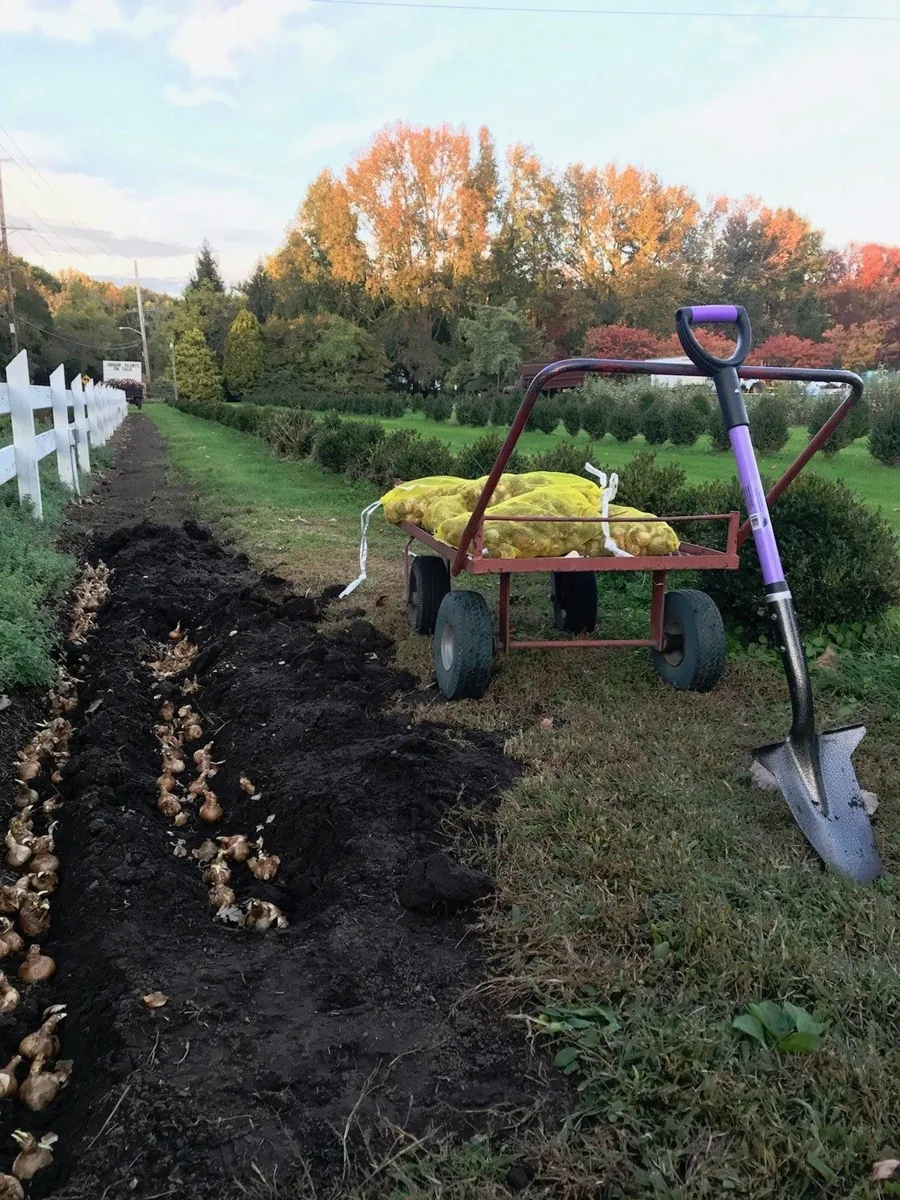
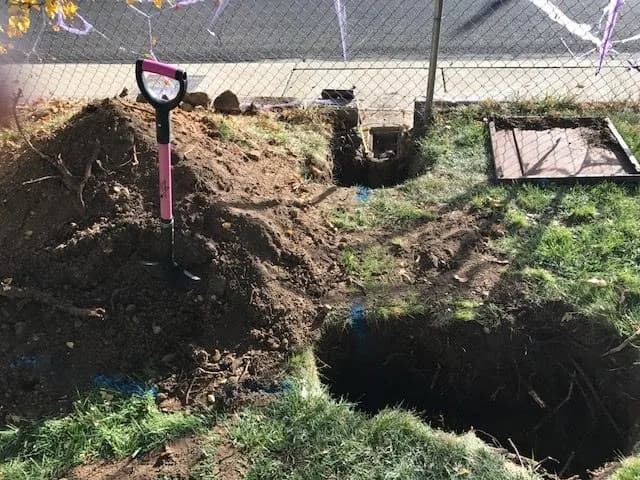
Mark your border with a hose or string line, then cut along it with a sharp spade. You want a vertical wall on the bed side, about 4 to 6 inches deep. Step straight down on the foot rest, rock the handle back slightly and lift the soil out to the bed side so you can use it later.
Cut straight down rather than at an angle. That leaves a straight, clean wall instead of a scooped bowl, and that wall is what the fabric will sit against. On curves, take shorter bites and keep the blade upright.
This is where the right tool earns its keep. Spear Head Spade makes the first hybrid spade and shovel, with a blade curved like a shovel to carry material and pointed and sharpened like a spade. The double-patented profile lets the spade wedge its way around a rock and through the soil rather than hitting it and stopping, with up to 80% less effort than a standard shovel. A good spade here saves you a lot of fixing later.
Step 2: Roll out and square the fabric
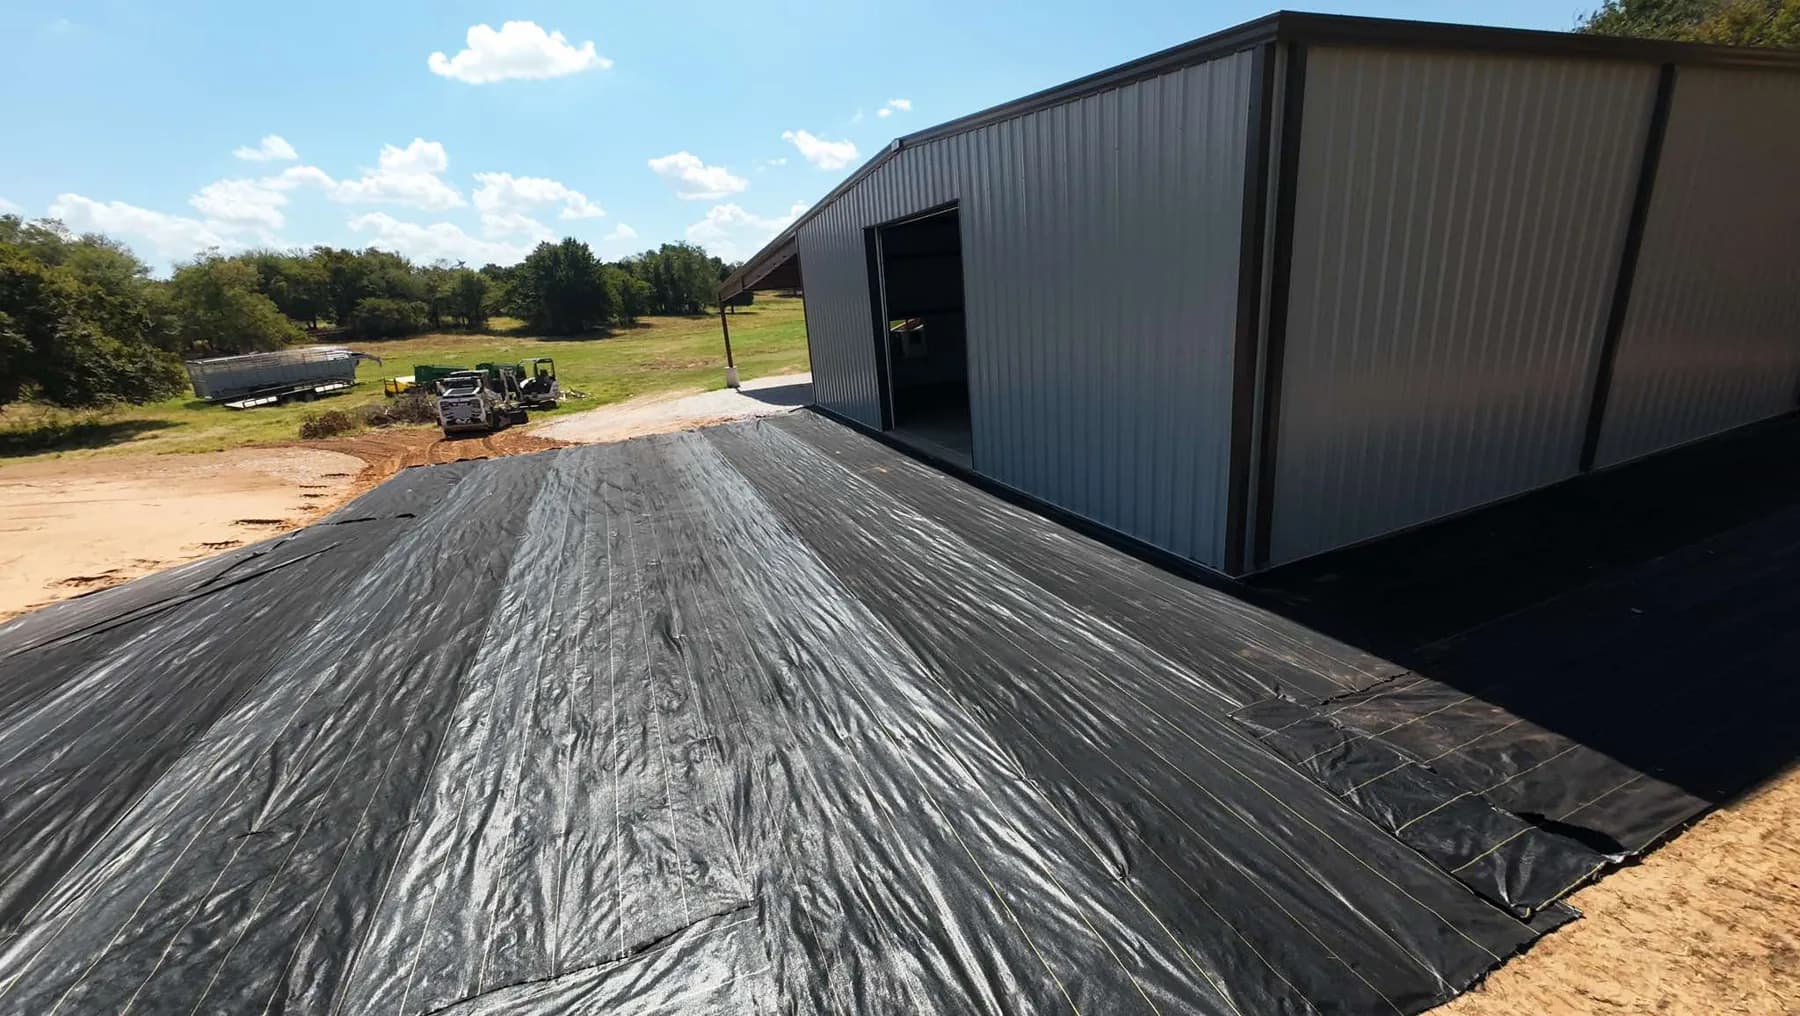
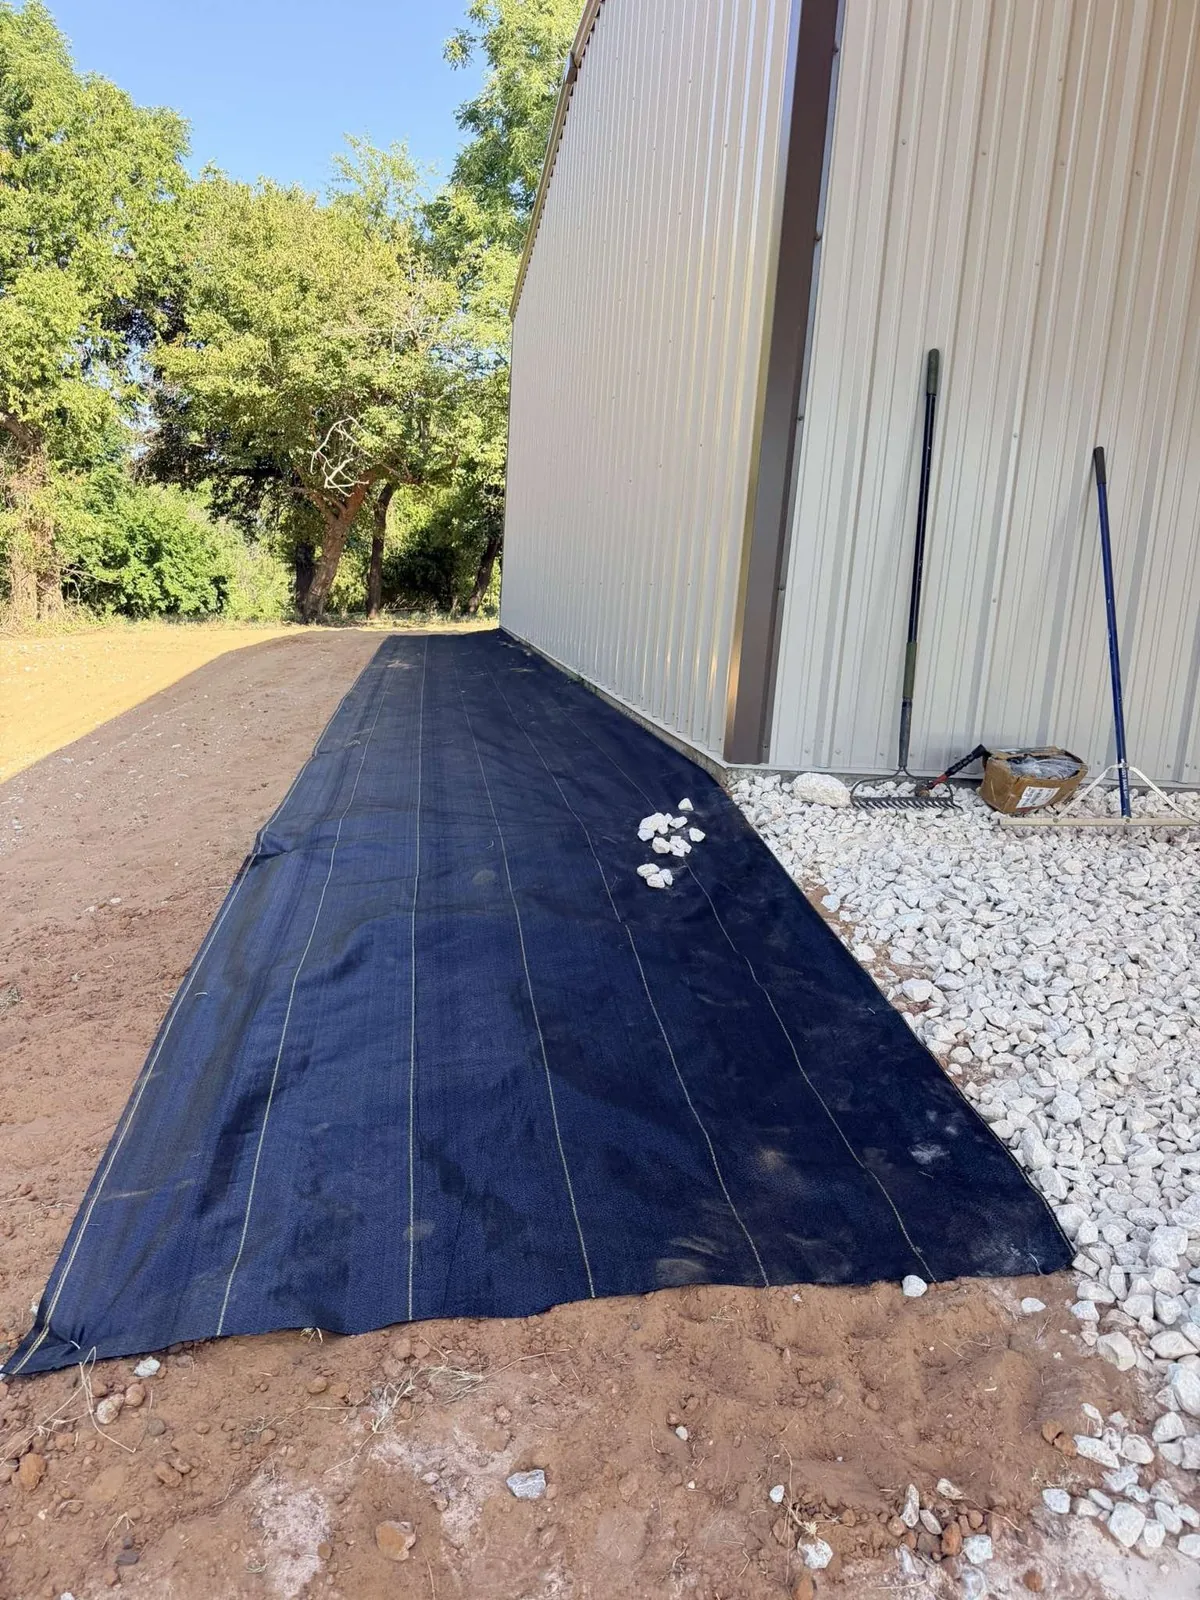
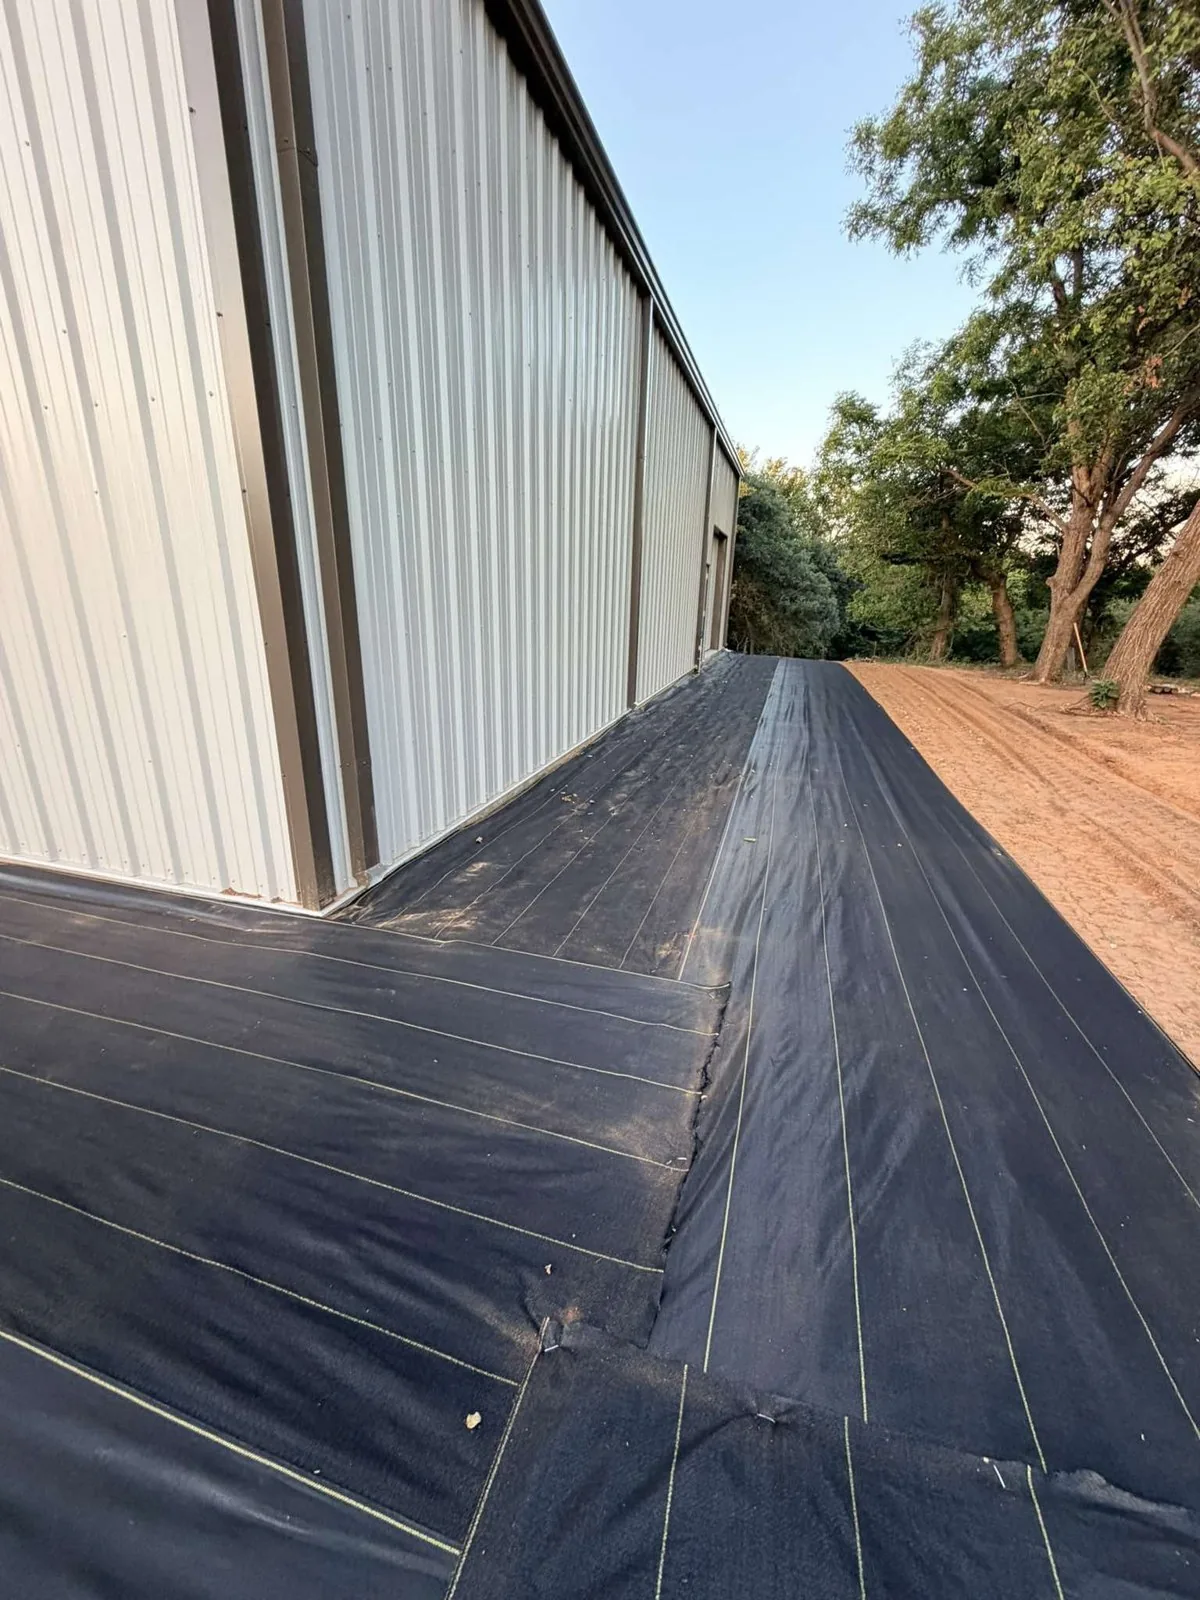
Roll the fabric across the bed with a little extra hanging over the trench on each side, so it can drop down into it. Keep rows straight and overlap seams by at least 12 inches. Fabrics with printed guide lines make this easy.
Our XBAR dual layer fabric has guide stripes every 12 inches, so crews can line up runs and overlaps without measuring each one.
Don't stretch the fabric drum tight. Let it lie flat and relaxed against the ground so it doesn't pull out of the trench when the stone goes on.
Step 3: Tuck the edge into the trench
Push the fabric edge down into the trench so it runs down the bed side wall and across the bottom. The back of your spade blade is a handy tool for pressing it into the corner. If you have too much fabric, trim it so the edge sits at the bottom of the trench instead of folding back up the other side.
Step 4: Pin overlaps and edges
Before you backfill, pin the fabric along the overlaps and at the trench line. Every 12 to 24 inches works on flat ground. Go closer on slopes, curves and anywhere water will run. The pins hold things in place while you work. The trench is what holds it for the long haul. On slopes or under heavy traffic, use longer pins rated for your soil.
Step 5: Backfill and compact
Shovel the soil you lifted back into the trench right on top of the tucked fabric. Fill it in layers and tamp each one down firm with your boot or the back of the spade. You're looking for solid, compacted soil with no soft spots, because that's what locks the edge. If you're adding steel, aluminum or paver edging, set it in this trench too, so the fabric runs behind and under it.
When you're done, you should be able to tug on the fabric in the bed and feel the edge hold.
Step 6: Spread cover from the covered side
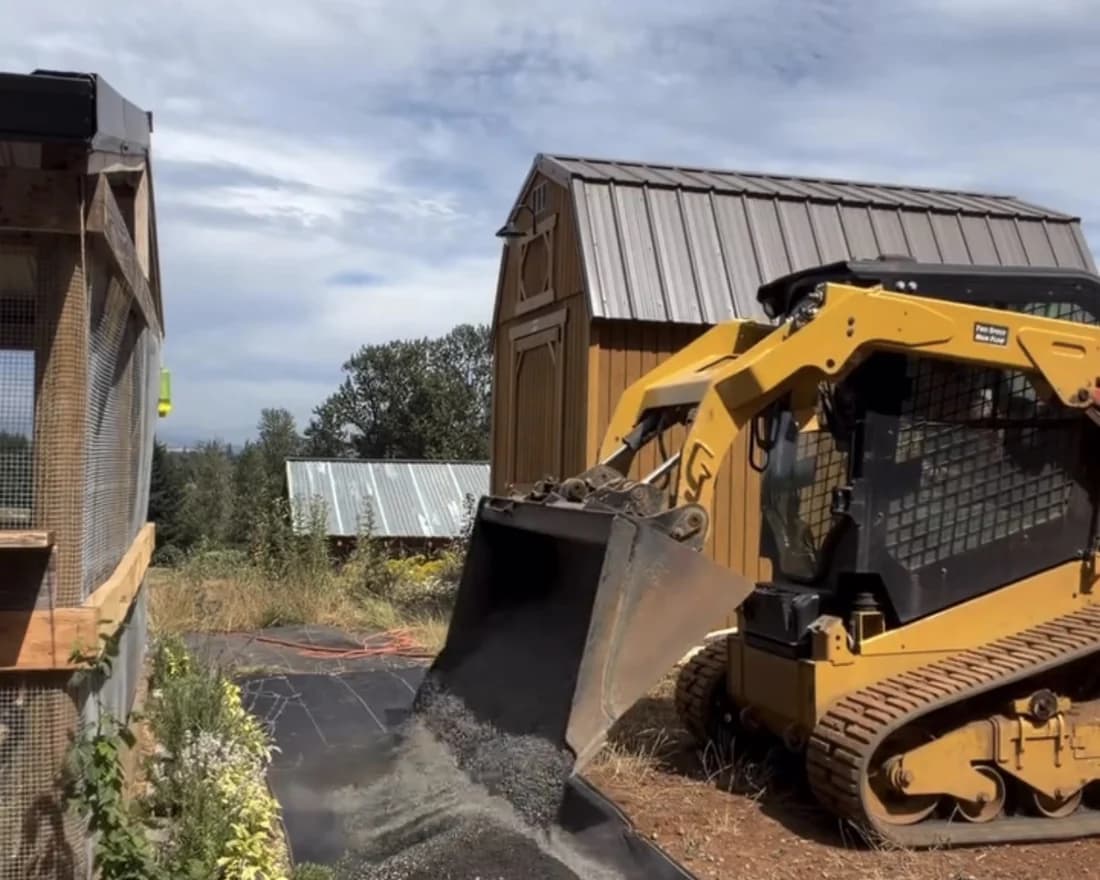
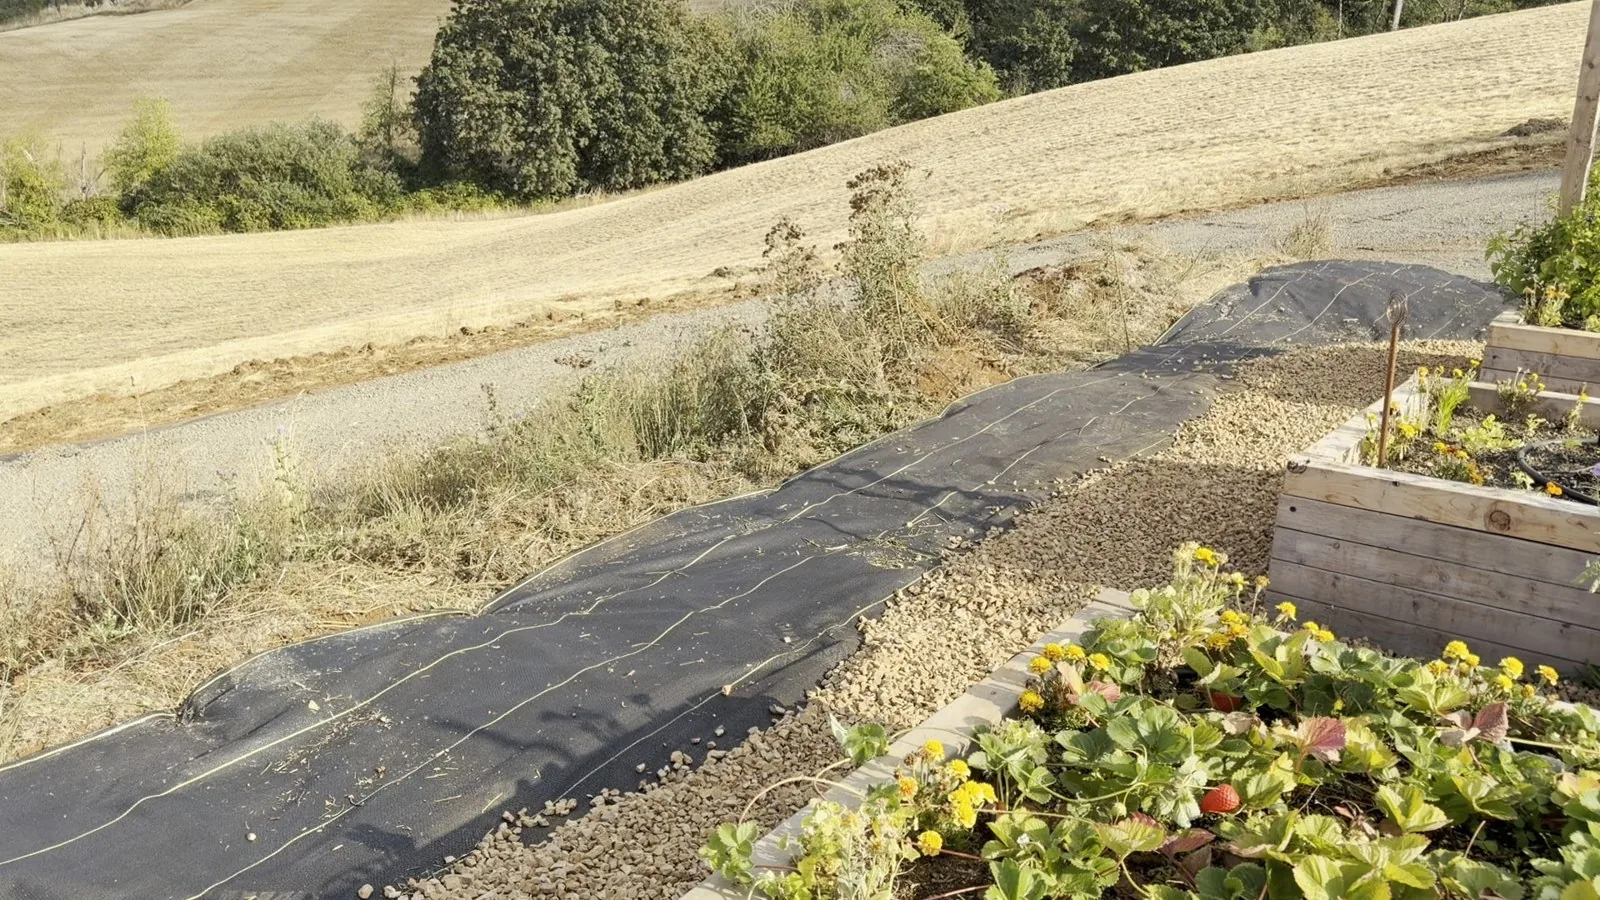
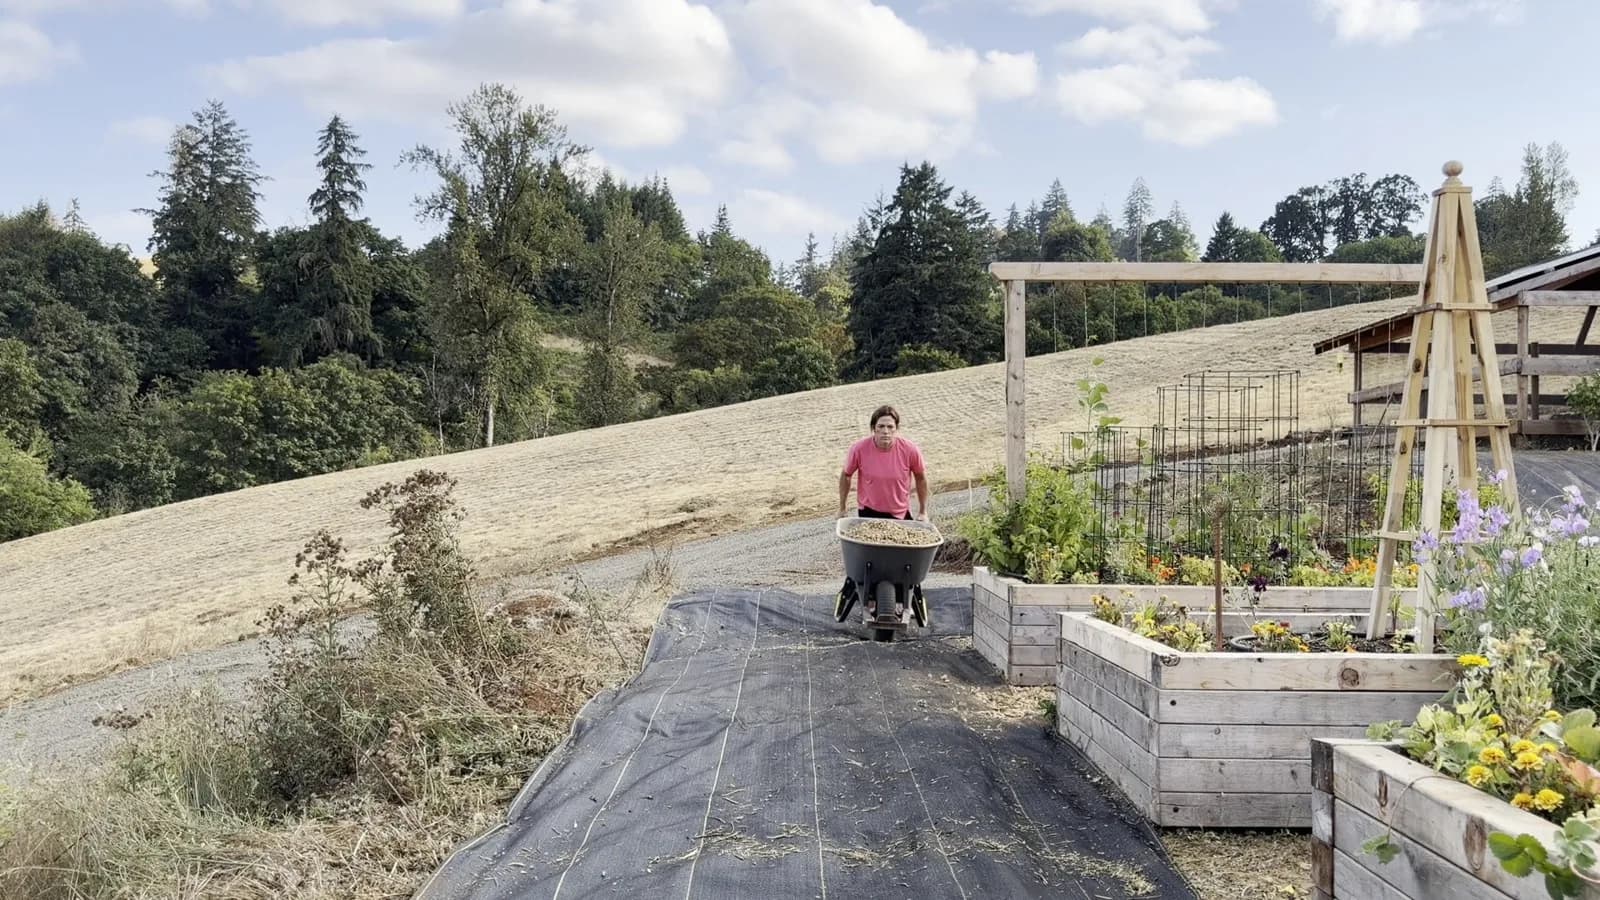
Spread gravel or mulch starting from an area that's already covered and work forward. That way boots and wheelbarrow tires ride on stone, not on bare fabric. Aim for about 2 to 3 inches of stone on a gravel path, or 2 to 3 inches of mulch in a planting bed. Keep the cover running right up to the trench line so no fabric is left in the sun.
How much XBAR does your bed or path need?
Enter the length and width, pick overlap, and get the roll size, quantity, and total before you order. Free US shipping, no minimum.
Edge-lock checklist
- 1Mark and trenchBorder marked and trench cut 4 to 6 inches deep with a vertical wall on the bed side.
- 2Roll and overlapFabric rolled straight with seams overlapped at least 12 inches and a little extra hanging into the trench.
- 3Tuck the edgeEdge tucked down the wall and across the trench bottom, trimmed so it does not fold back up.
- 4Pin, then backfillPins every 12 to 24 inches (closer on slopes), then trench backfilled in layers and tamped firm.
- 5Cover from the covered sideGravel or mulch spread from the covered side, right up to the edge, with no bare fabric left in the sun.
A sharp spade and a few extra minutes
None of this is complicated, and none of it takes long. A sharp spade and a few extra minutes at the border are what separate a bed that looks good for one summer from one that still looks clean years later. Thanks to the team at Spear Head Spade for the spade photos and tool details in this guide.
Ready to edge-lock your next bed or path?
XBAR 5oz dual layer for gravel and traffic, SHIELD 3.2oz for beds. Free US shipping, no minimum.
Shop XBARThree fabrics. One simple rule.
Use the right fabric for the right ground condition.
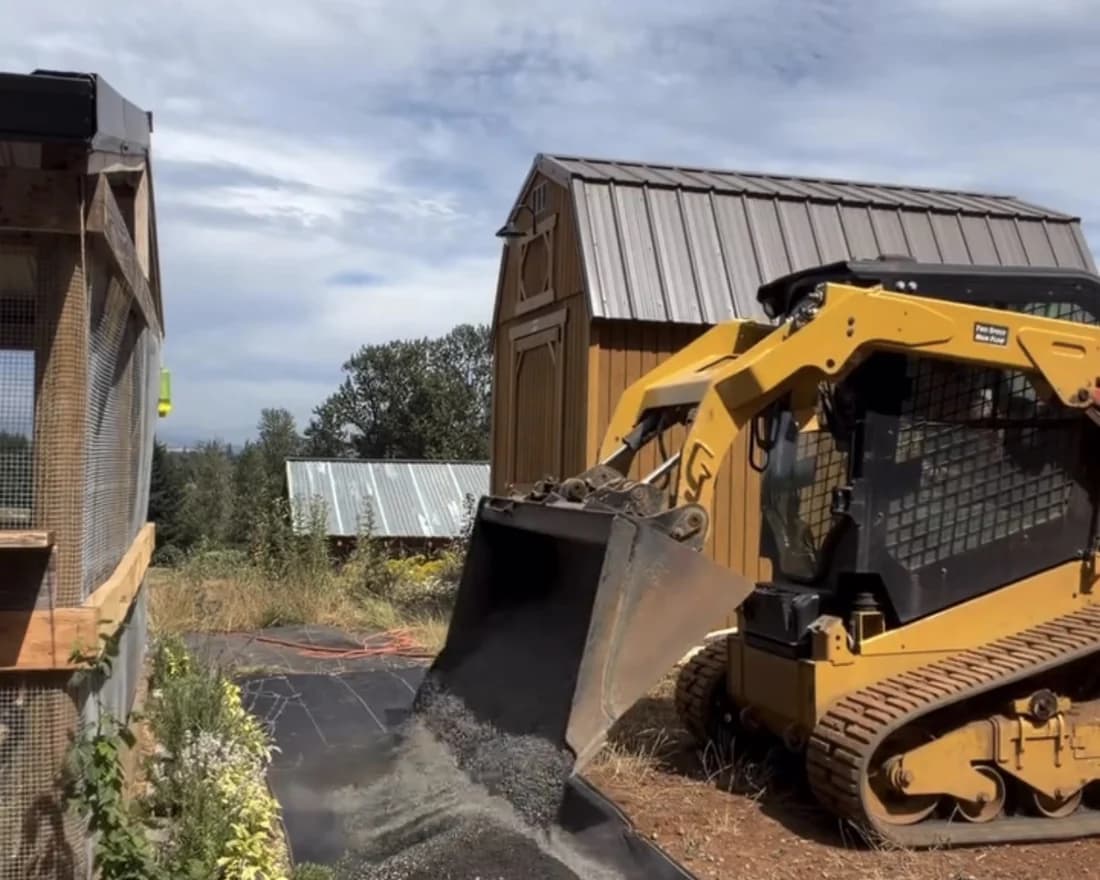
XBAR
Heavy-duty woven hybrid engineered for load and separation under hard surfaces.
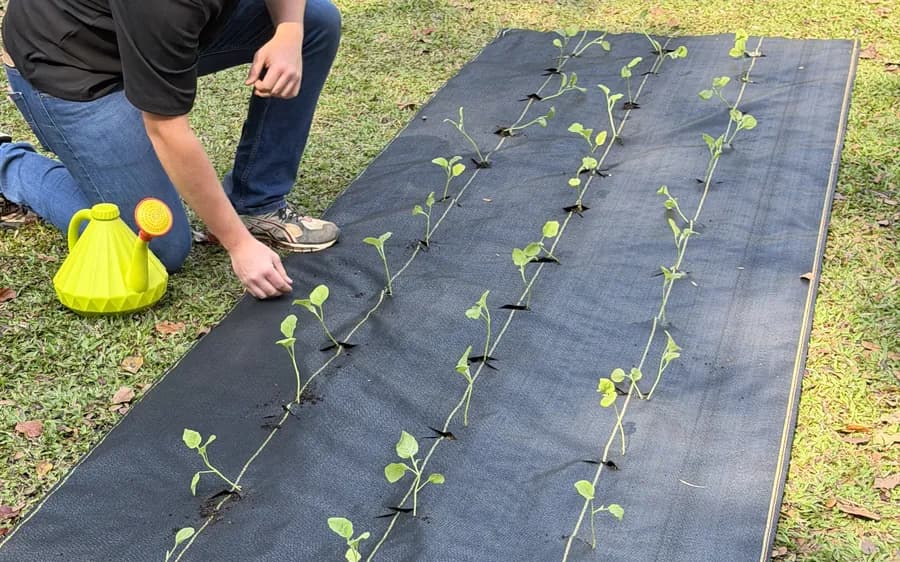
SHIELD
Woven polypropylene weed barrier built to suppress weeds while letting water and air through.
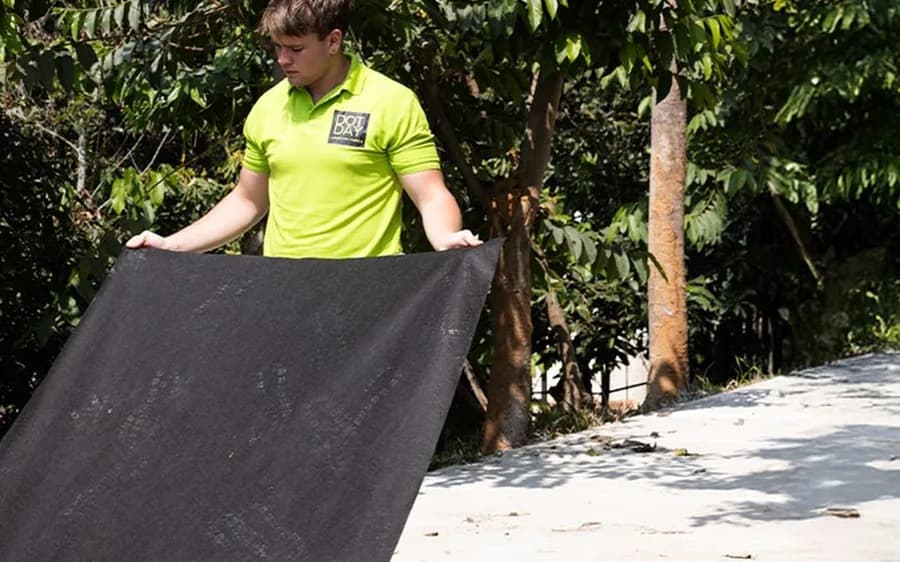
TERRA
Non-woven geotextile designed for drainage, filtration, and soil separation.