.webp)

install
green
dotday
The right fabric, installed correctly, lasts years. DOTDAY makes it simple - so you can get back to growing your plants with ease.
Easy Installs. Better Growth.
Start: Clear and Prepare the Area
Remove all weeds, grass, and debris from the installation area. Don't worry about removing roots completely - the fabric will suppress regrowth.


Quick Tips for your Installs
Overlap seams 6 inches. Pin every 12–18 inches along edges and seams. Cover with mulch or soil immediately to protect from UV.
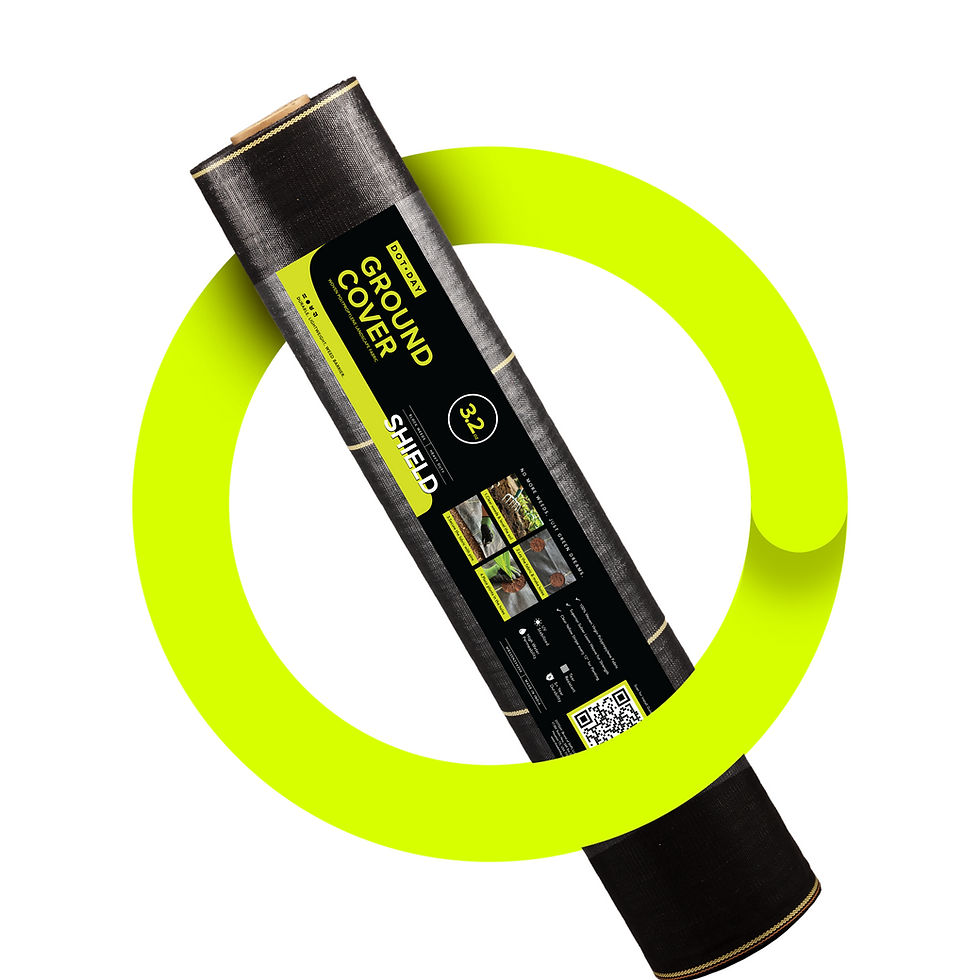
SHIELD 3.2oz - Weed Control

Lay fuzzy side down. Overlap seams 12 inches. Pin on 12-inch spacing with heavy-gauge staples. Cover with gravel or rock to lock in place.
XBAR 5oz - Gravel & Hardscape

Orient with water flow direction. Overlap seams minimum 12 inches. Backfill with drain rock, then fold fabric over the top.
TERRA 4–8oz - Drainage & Filtration
Next: Roll Out Fabric
Unroll fabric across the prepared area, keeping it as straight as possible. Work systematically from one end to the other, avoiding wrinkles or bunching.

Next: Cut to Length
Remove all weeds, grass, and debris from the installation area. Don't worry about removing roots completely - the fabric will suppress regrowth.

Next: Make Holes using Guidelines
Cut X-shaped holes using guidelines making cuts just large enough for the plant stem. Make cuts slightly smaller than needed, then expand gradually.

Next: Overlay Fabric to Avoid Gaps
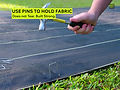
Overlap fabric edges by 6 inches minimum to prevent weed breakthrough. Place landscape pins every 12 inches along edges and every 36 inches in field areas.

Next: Staple Down Fabric with Pins
Place landscape pins every 12 inches along edges. Push pins completely flush with fabric surface.
Next: Plant and Grow with No Weeds!
Insert your plants in each hole and water them. The fabric blocks weeds around the plant and supports healthy growth.

Resources
Product Focused

Bulk Landscape Fabric for Contractors | Pro Pricing & Direct Supply
Bulk landscape fabric for contractors, supplied direct from the US. Spec by ground condition, order by the pallet, and get volume pricing. Request a DOTDAY Pro quote. #DOTDAY #contractors #landscaping #hardscape #weedbarrier
Landscape Fabric
Woven vs Non-Woven Landscape Fabric: Which One Do You Actually Need?
Woven and non-woven landscape fabric are not interchangeable. DOTDAY explains which type fits your ground condition — and the three mistakes that cause projects to fail. #DOTDAY #landscaping #weedbarrier #geotextile #drainage